How to Create a Debt Tracker in Google Sheets
It can be difficult and intimidating to manage debt. But in order to take charge and go forward, you must monitor your debt payments and know where you stand financially. A debt tracker is one of the best tools for keeping track of your bills. You can make a personalized debt tracker spreadsheet using Google Sheets that shows you your interest rates, outstanding balances, payment history, and other details. This tutorial will show you how to use Google Sheets to create a thorough and useful debt tracker template.
This post offers a detailed method for creating a debt tracker in Google Sheets, regardless of your level of experience with debt management or your desire to simplify your financial life.
Page Contents
☰🧮Why Use Google Sheets for Tracking Debt?
Google Sheets is an excellent tool for tracking your debt for several reasons:
- Accessibility: You may view your debt tracker spreadsheet from any location at any time using any internet-connected device thanks to Google Sheets' cloud-based architecture.
- Free: Google Sheets is available at no cost, which makes it an affordable tool for managing your finances.
- Collaboration: With Google Sheets, sharing and working together on the same spreadsheet is simple, whether you're managing debt with a financial advisor or as a pair.
- Customizability: By incorporating columns for interest rates, monthly payments, and other crucial information, you can customize your debt tracker template to fit your particular financial circumstances.
- Automation: You can keep on track by automating computations such monthly payments, interest accrual, and the total amount of debt owed using built-in formulas.
📝Step-by-Step Guide to Creating a Debt Tracker Template in Google Sheets
Step 1: Set Up Your Google Sheets Document
1. Create a New Spreadsheet
To start, you'll need to create a new debt tracker spreadsheet in Google Sheets. Here’s how:
- Open Google Sheets and log into your Google account.
- Click on the + Blank button to create a new spreadsheet.
- Name your spreadsheet (e.g., Debt Tracker).
2. Set Up Your Columns
In your new debt tracker sheet, you'll want to set up several columns to organize the information effectively. Here are the basic columns you should include:
Explanation of Columns:
- Debt Name
- Creditor
- Starting Balance
- Interest Rate (%)
- Minimum Payment
- Current Balance
- Payment Made
- Remaining Balance
- Due Date
- Notes
Step 2: Add Formulas for Tracking Payments and Balances
Once your debt tracker template is configured, you may use formulas to automate important computations, which will make monitoring your debt over time easier.
1. Calculating the Remaining Balance
The amount of debt that remains after payments are made is known as the remaining balance. This can be computed using a basic subtraction algorithm. Enter the following formula, for instance, in cell H2 (for the first row of the "Remaining Balance" column):
=F2 - G2
To determine the updated remaining balance, this formula deducts the Payment Made (column G) from the Current Balance (column F).
2. Calculating the Interest for the Month
Column D's Interest Rate and Column F's Current Balance will be used to determine the interest for the month. The following is the formula to determine monthly interest:
=F2 * (D2 / 100) / 12
In order to convert the interest rate from an annual rate to a monthly rate, this formula divides it by 12. The interest for the month is then calculated by multiplying the interest rate by the current balance. Put this formula in the new Interest column (column I, for example).
3. Tracking Total Payments
You can figure out the total amount paid on all debts in a different cell (for example, beneath the table):
=SUM(G2:G10)
You may monitor the total amount you've paid on all of your loans by using this formula, which adds up all of the values in the Payment Made column.
4. Remaining Total Debt
To track the total remaining debt, sum the Remaining Balance column:
=SUM(H2:H10)
This formula will give you a total of all the remaining balances for each debt.
5. Payment Date and Debt Due Reminders
Construct a notification system to help you remember your deadlines. You may send reminders or define conditional formatting in Google Sheets. Use these procedures to configure conditional formatting for approaching deadlines:
- Highlight the Due Date column.
- Go to Format > Conditional Formatting.
- Set a rule to change the cell color to red if the due date is within the next week, or green if it's paid.
Step 3: Set Up a Dashboard for Overview
After you've configured formulas and entered all of your debt data, think about making a debt tracker dashboard in a separate sheet of your document. This will give you a brief summary of your debt situation, including total payments, outstanding sums, and interest accrual.
Here’s how to create a simple dashboard:
- Create a new sheet by clicking the + sign at the bottom of Google Sheets.
- Use the SUM and AVERAGE functions to calculate overall totals like total remaining debt, average interest rate, and total payments.
- Employ charts to illustrate your progress, such as a bar graph that displays your debt repayment progress or a pie chart that displays the percentage of each loan relative to the overall amount outstanding.
Step 4: Customize Your Debt Tracker Template
1. Add More Categories
Additional categories can be added in accordance with your particular financial circumstances. For example, you might want to keep track of different kinds of debt, such credit cards, student loans, and vehicle loans, individually. further columns can be added for further payments, interest-free periods, or due dates.
2. Track Extra Payments
Don't forget to include an Extra Payment column if you're paying more toward your debt (for example, by making extra credit card payments). When you make these extra payments, figure out how much the balance drops using a formula.
3. Debt Snowball vs. Debt Avalanche Method
A debt repayment plan, like the Debt Avalanche or Debt Snowball approach, is an option. Put this into practice by sorting your debts by interest rate (for the Debt Avalanche) or balance (for the Debt Snowball). To keep track of this tactic, you can make an additional sheet.
Step 5: Review and Update Your Debt Tracker Regularly
Being consistent is essential to managing your debt. Keep your debt tracker template up to date by entering your payments and modifying your remaining balance as necessary. Establish a reminder to check and revise the tracker once a month.
As you advance, the benefits of regular debt repayment will become apparent to you. This can keep you inspired and committed to your debt-free objective.
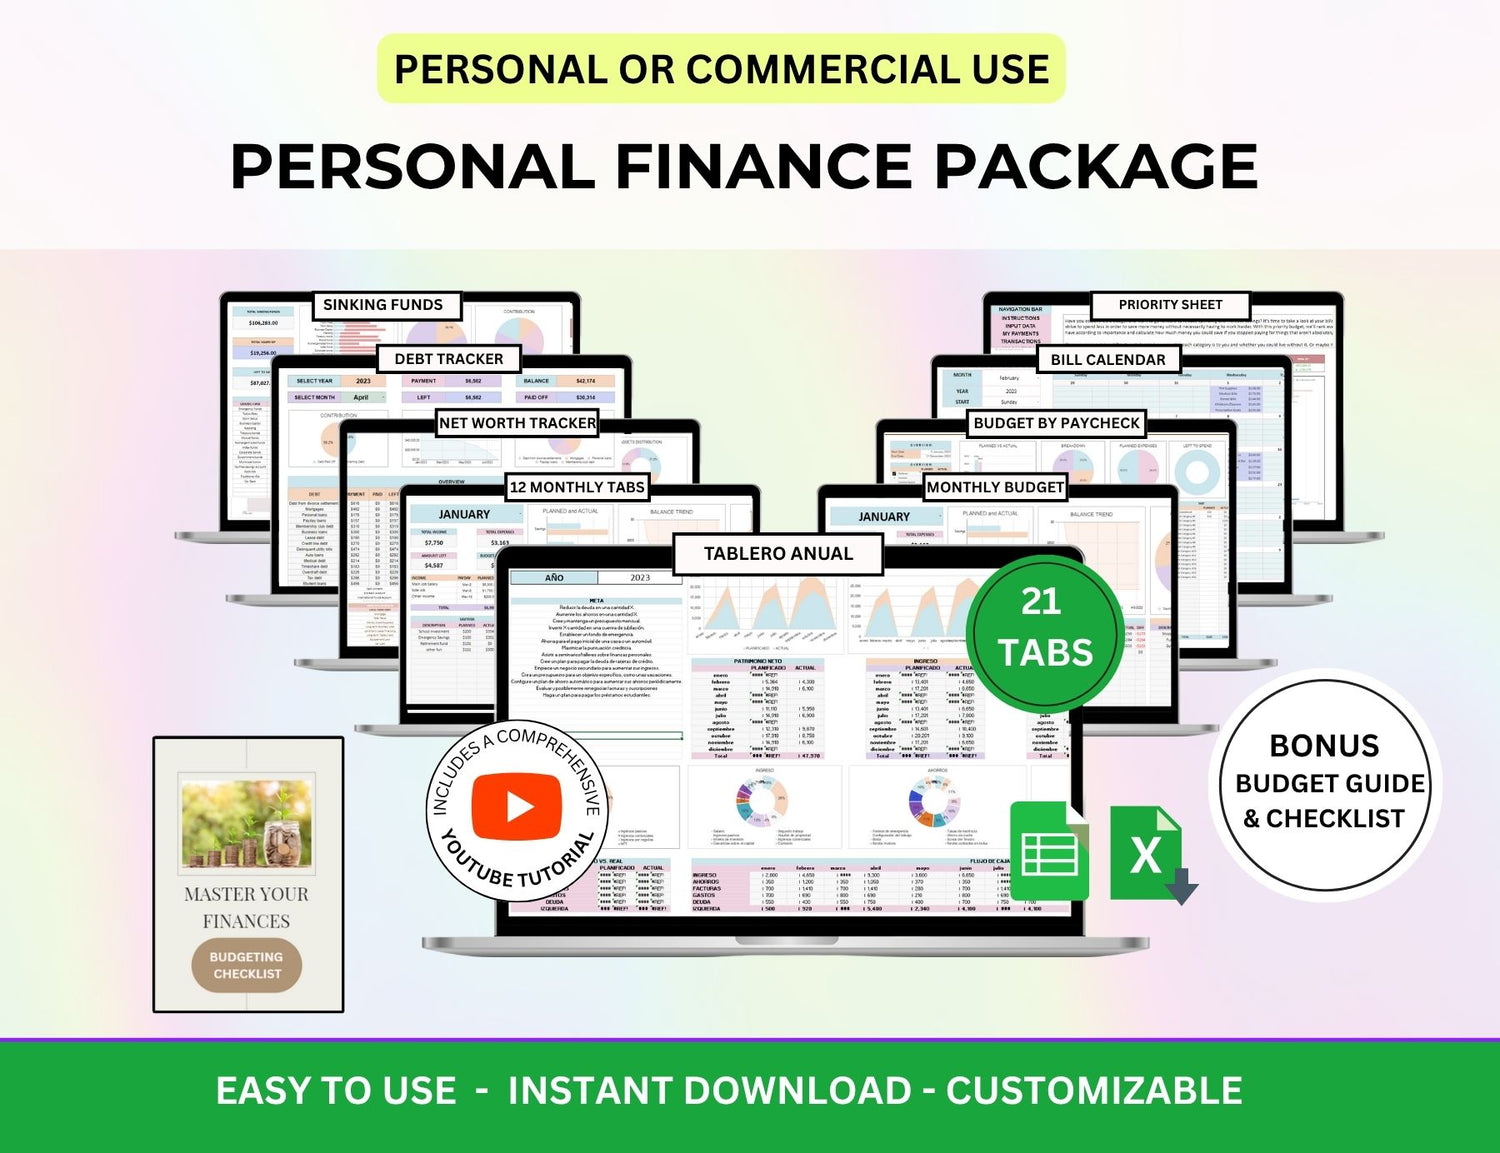
📲More Tips for Creating Your Own Sinking Funds Using Google Sheets!
1. How to create a debt tracker using Google Sheets?
╰┈➤ˎˊ˗ Start by opening a new Google Sheet and labeling the main columns:
- Debt Name (e.g., credit card, student loan)
- Original Balance
- Current Balance
- Minimum Payment
- Interest Rate (%)
- Due Date
- Monthly Payment
- Payment Date
Utilize formulas to monitor your development. For instance, use a straightforward formula such as =Original Balance - SUM(Payments) to deduct your payments from the current balance. To make scanning easier, color-code certain debts. You can also include charts to show how balances are declining over time.
2. How do I create a bill tracker using Google Sheets?
╰┈➤ˎˊ˗ For a bill tracker, add a new tab or section in the same sheet. Create columns like:
- Bill Name
- Amount Due
- Due Date
- Paid (Yes/No)
- Payment Date
To ensure you are on time with your payments as well, you can add on conditional formatting which you can use to change a certain cell’s color or the font color to emphasize the nearing payment date. To quickly see what has been paid each month, you may even use the checkboxes in the "Paid" column.
3. How to use Google Sheets when keeping track of finances?
╰┈➤ˎˊ˗ You can use Google Sheets as your one-stop financial dashboard because it is sufficiently versatile. You can include tabs for tracking income, managing debt, sinking savings, and budget planning. To sum up costs or savings, use formulas like =SUM(range), and use charts to see trends in spending. You can update your accounts from any device using cloud synchronization, which is particularly useful for couples who manage their finances jointly.
4. Which is better, snowball or avalanche method?
╰┈➤ˎˊ˗ Both are effective, but the best method depends on your personality and goals:
- Snowball Method: Prioritize paying off your smaller debts. It's inspiring and excellent for achieving rapid success.
- Avalanche Method: This is the exact opposite of the snowball method where it focuses on the loan with the highest interest rate instead of the smallest.
Whatever approach you decide on, you can modify your Google Sheets debt tracker to accommodate it, keeping you motivated and on course to pay off your debt.
🔎Frequently Asked Questions (FAQs)
1. How can I share my debt tracker spreadsheet with others?
╰┈➤ˎˊ˗ There are different ways you can share your document, whether this be your debt tracker or any other spreadsheet. You can either send them a link or send them an invite. If you choose to share it by link, you can copy the link that comes up when click share, and you can also edit what the collaborator can do depending on the link you send them. Another way is by sending an invite which would require their email address and for them to acknowledge the invite within a given timeframe.
2. Can I automate debt payment reminders in Google Sheets?
╰┈➤ˎˊ˗ Although there aren't any built-in reminders in Google Sheets, you may mark due dates by using conditional formatting. As an alternative, Google Calendar can be used to automatically notify you when debt payments are due.
3. How do I handle variable interest rates?
╰┈➤ˎˊ˗ In the event that your debt has a variable interest rate, you will have to manually adjust the interest rate in your debt tracker spreadsheet whenever it fluctuates. To indicate the date of the rate change, you might include a column.
4. Can I use this tracker to manage multiple types of debt?
╰┈➤ˎˊ˗ Indeed, you may keep track of several debt categories by making distinct rows for each kind of debt (credit card, student loan, personal loan, etc.). The remaining amounts, interest, and payments for each debt can then be tracked separately.
5. Can I use Google Sheets for long-term debt tracking?
╰┈➤ˎˊ˗ Because you can modify your debt tracker as you go along, Google Sheets is perfect for tracking debt over the long run. The tracker will be a useful tool for tracking your progress over time, provided you update it frequently.
One effective strategy to take charge of your financial condition and keep moving toward debt freedom is to set up a debt tracker in Google Sheets. You will have a fully working debt tracker spreadsheet that facilitates effective tracking of payments, interest, and balances if you follow the instructions in this article. Google Sheets gives you all the tools you need to properly manage your debt, regardless of whether you're use the Debt Snowball method or another tactic.


